
In this article, we will show you how to fail over and reinstate Oracle Database in the Oracle Cloud.
This article is written by Skant Gupta and Joel Pérez in Oracle OTN.
Note: To use the procedure presented in this article, you need two Oracle Cloud database instances. Also, the procedure presented was performed on Oracle Database 11g; however, the procedure should work on later releases such as Oracle Database 12c Release 1 and Release 2.
Create the Primary Database Instance
- Log in to your Oracle Cloud services account. Then go to the Oracle Database Cloud Service page and create a new service:
– For Service Name enter Primary.
– From the Service Level list, select Oracle Database Cloud Service.
– From the Metering Frequency list, select whatever frequency is appropriate for your environment.
– From the Software Release list, select Oracle Database 11g Release 2.
– From the Software Edition list, select Enterprise Edition.
– From the Database Type list, select Single Instance.
Then click Next to continue. 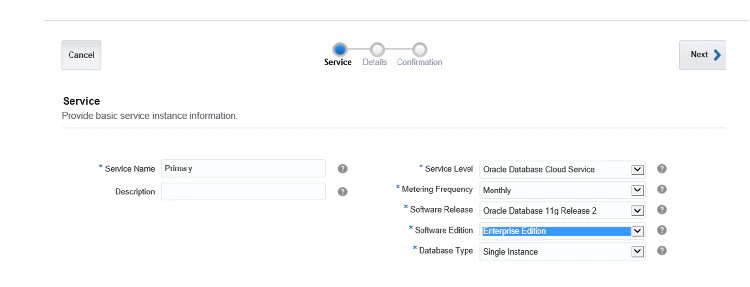
Figure 1. Creating a new service
2. In the Service Details screen, do the following:
– For DB Name (SID), enter ORCL.
– Set an administrative password of your choice and confirm the password (this will be your sys password).
– For Usable Database Storage (GB), enter 25.
– From the Compute Shape list, select OC3 -1 OCPU, 7.5GB RAM (this is the bare minimum required).
– For SSH Public Key, enter rsa-key-20170111.pub.
Click Here to read full article:
How to Fail Over and Reinstate Oracle Database on Oracle Cloud
